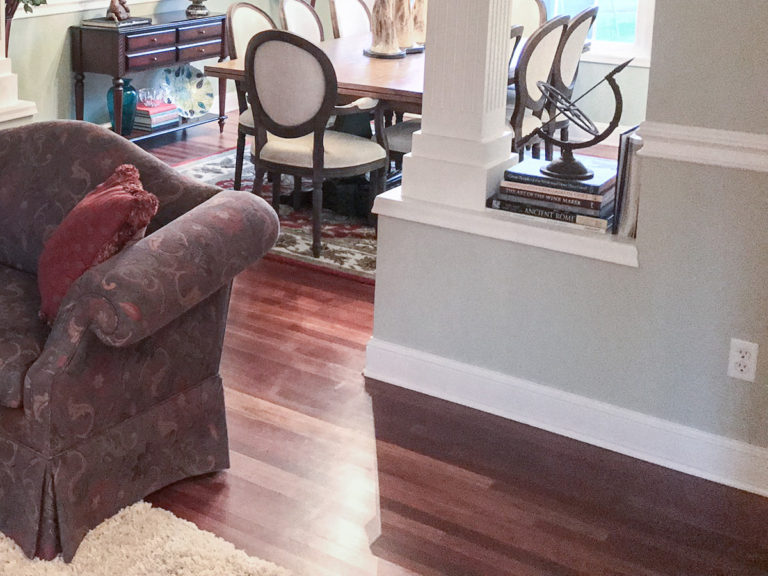
Our Highover home had something I had never seen before – white moldings in some of the rooms and brown moldings in others. The floors were red Brazillian cherry which looked stunning with the white baseboards, but not so much with the muddy brown ones.
White on Cherry Floors
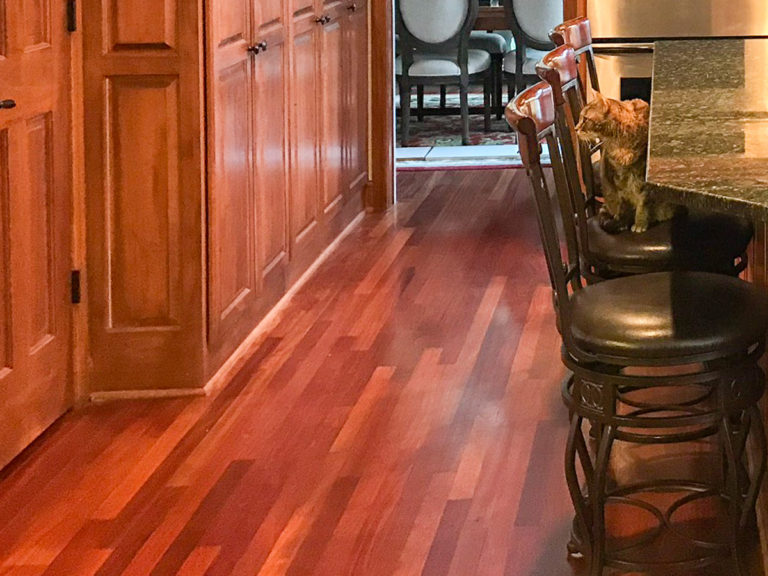
Brown on Cherry Floors
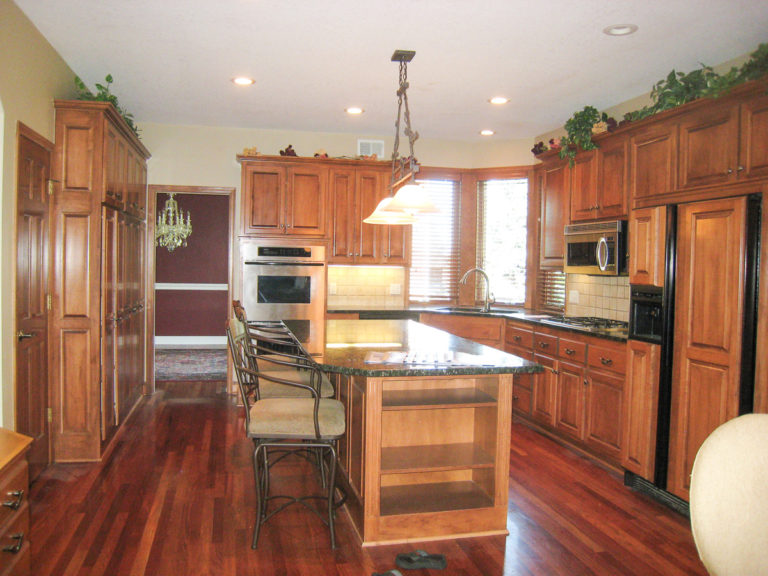
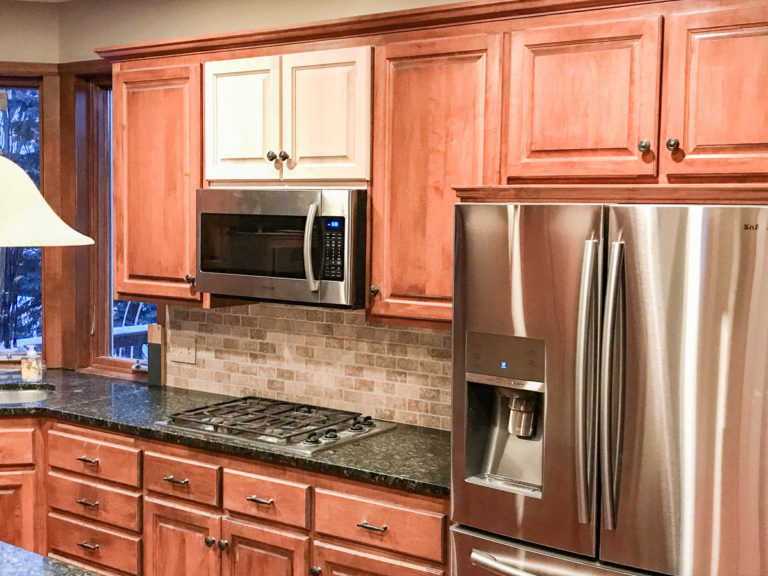
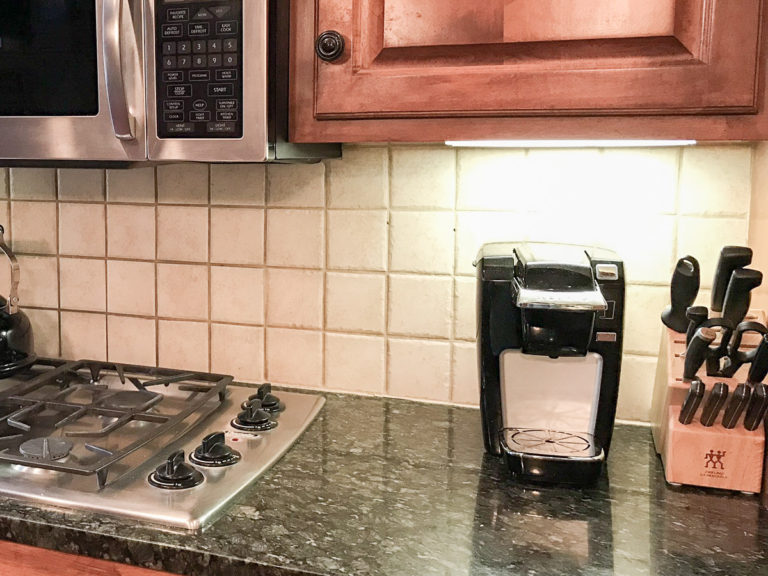
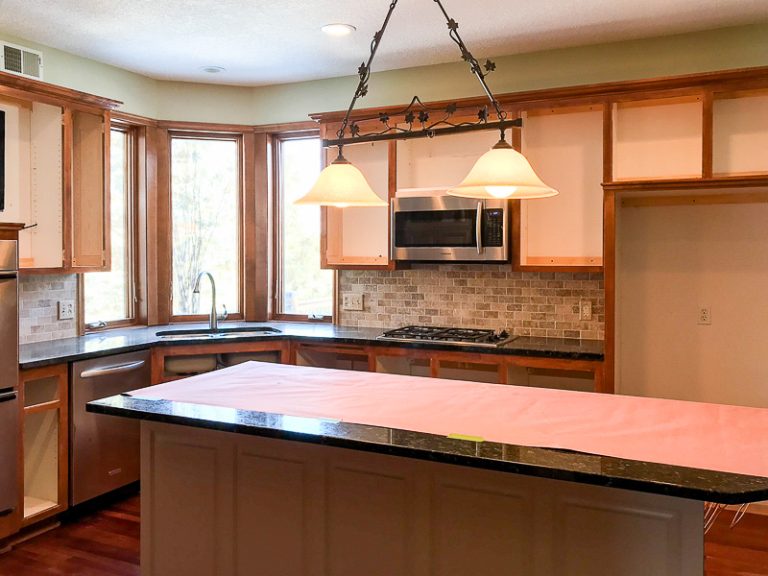
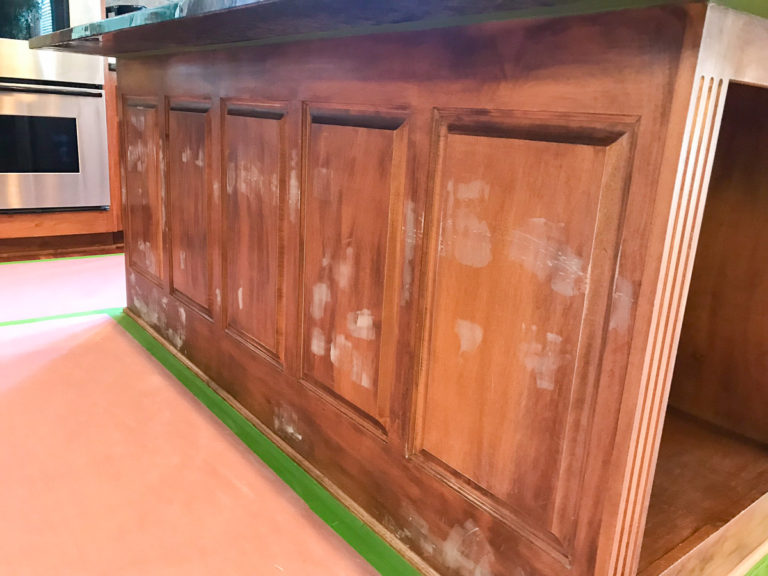
In the kitchen, the cabinets were the same old brown topped with dark Verde granite countertops. Lots of brown and very dark.
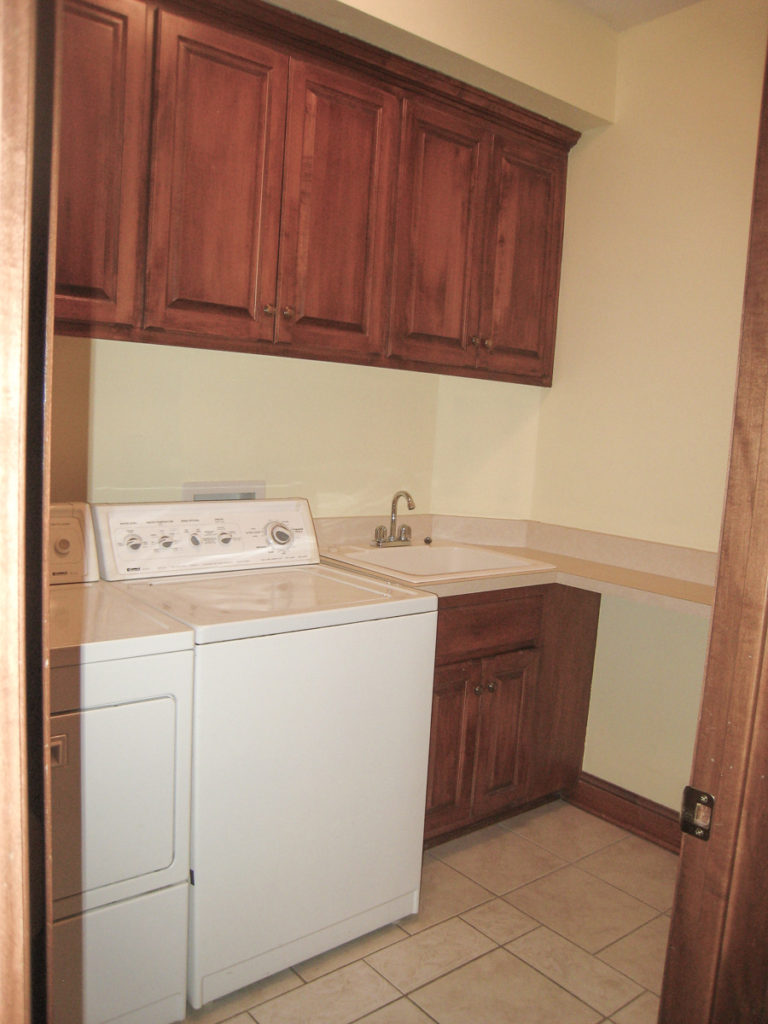
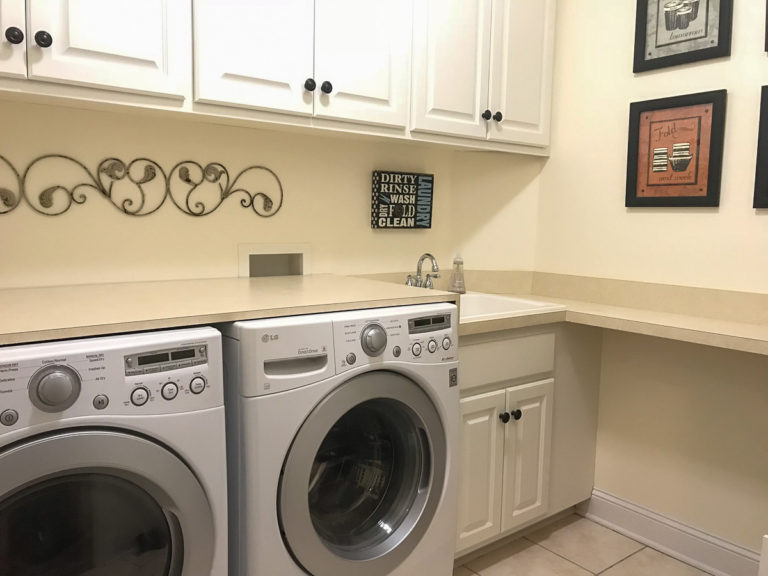
I always wanted to paint the kitchen cabinets, but I had seen enough poorly done jobs to make me squeamish. After lots of YouTube videos, I decided on a test run in my laundry room. I figured if it wasn’t to my liking I wouldn’t notice much, as I hate to do laundry and avoided that room.
I was so pleased with the results in the laundry I took the plunge and decided to tackle the kitchen cabinets. Then…. I went even further and painted the windows, baseboards, and doors. I loved the end result. Let me tell you the steps I took before beginning to paint.
Laundry Before
Laundry After
Step 1: Evaluate Kitchen Layout
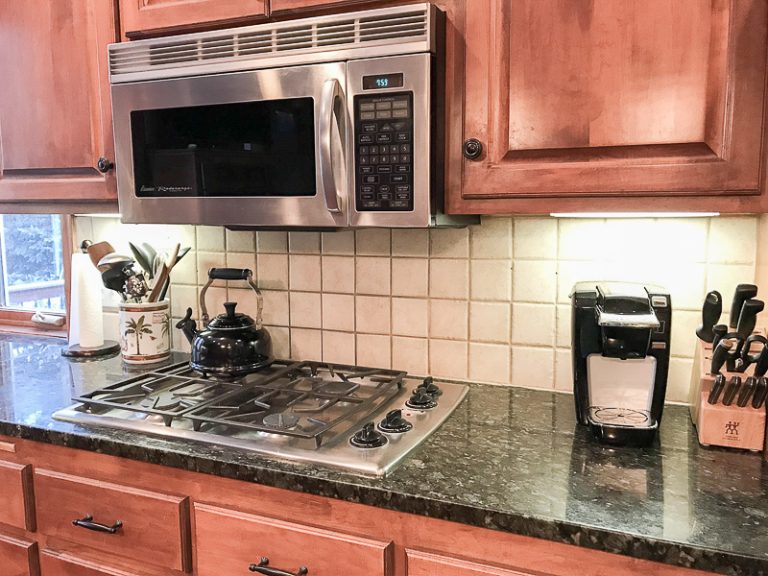
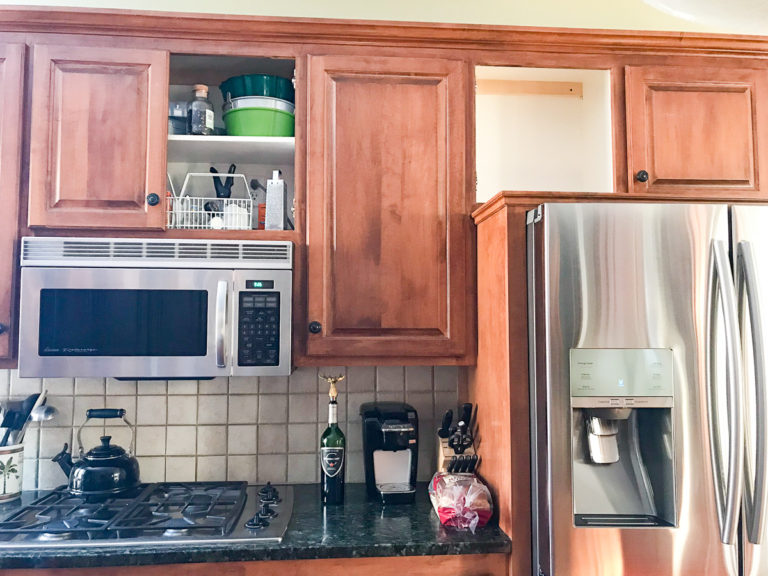
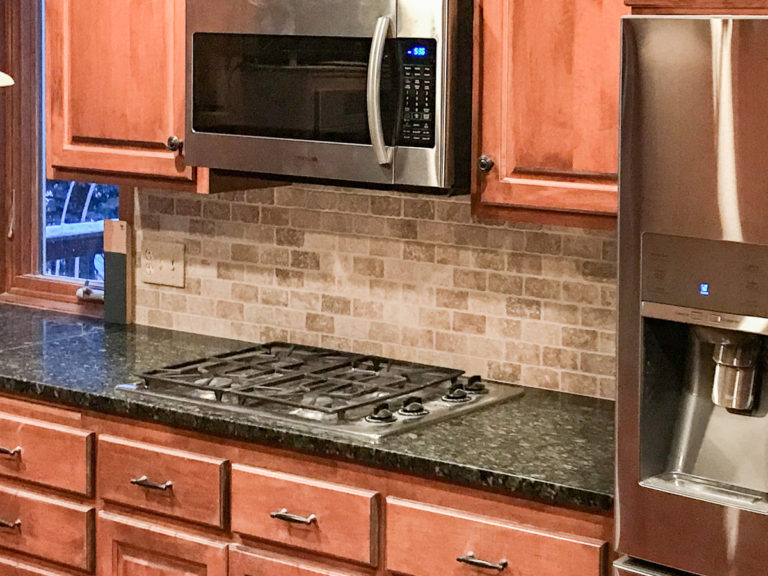
Before the job could begin I had a contractor raise the microwave above the cooktop. It was always too low for tall stock pots. I then had smaller cabinet doors custom made for the smaller opening above the new microwave. The missing door above the refrigerator was taken to the cabinet maker so the new doors could be matched.
Old microwave mounted too low
New microwave ready for higher install
Before, with taller cabinet doors above
After, with raised microwave and shorter custom built doors above
Step 2: Replace Backsplash if Needed
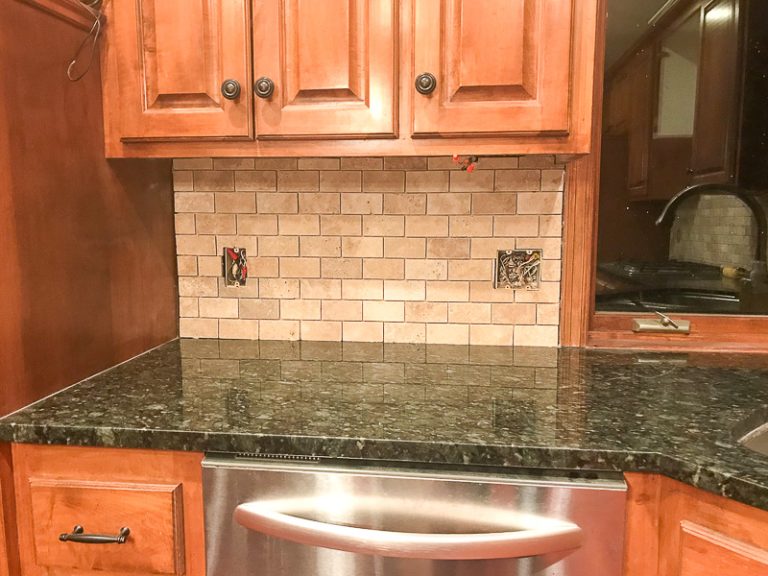
The next step was to have the dated square tiles in the backsplash replaced with beautiful travertine tiles laid in a subway pattern.
Backsplash Before
Backsplash After (before painting)
Backsplash After (before electrical plates added)
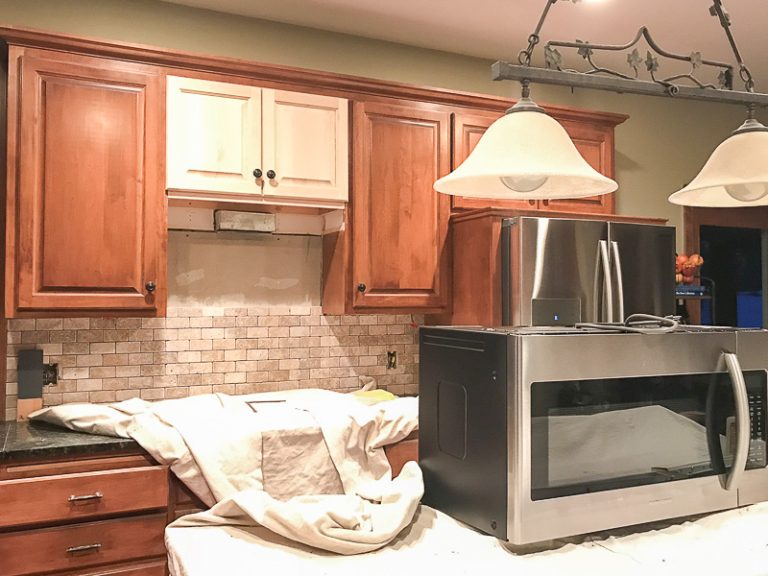
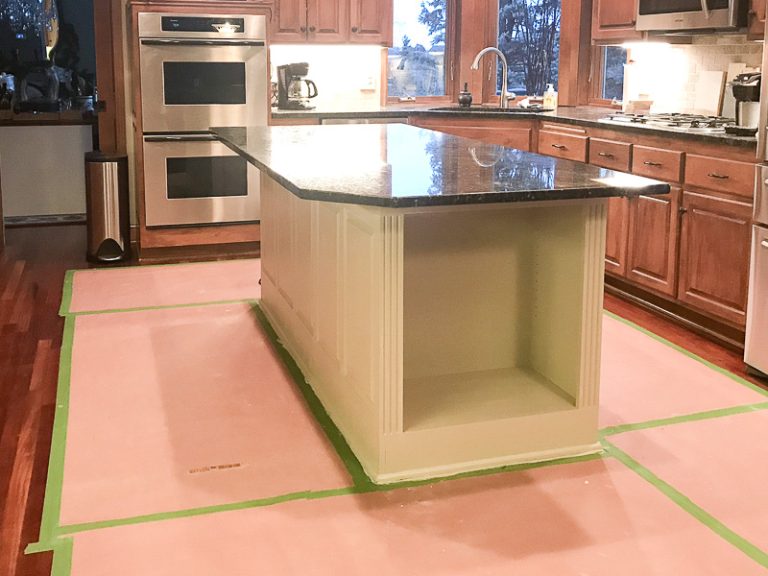
Step 3: Cover Floor and Appliances
I covered the floor and island with painter’s paper from Home Depot. For the appliances, I used Green Frog tape.
Step 4: Fill Nicks and Dents with Wood Putty / Sand Lightly
Now, you are thinking I could start painting, but no, you would be wrong. I had to fill all the nicks and dents in the doors and cabinet boxes with wood putty. Afterward the surfaces were lightly sanded to smooth out the repairs and give better adherence for the primer .
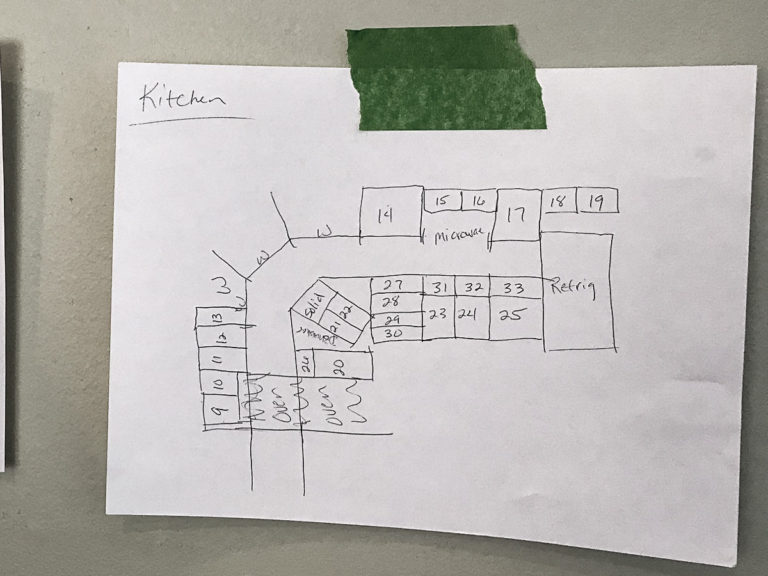
Step 5: Diagram Doors and Drawers
Now, you think it is paint time, but once again, you are wrong. Before removing the doors I had to make a diagram numbering all the doors and drawers so they could be replaced in their correct spot. I was shocked to find there were over 50 for this one kitchen!
Does not include island, desk, and pantry
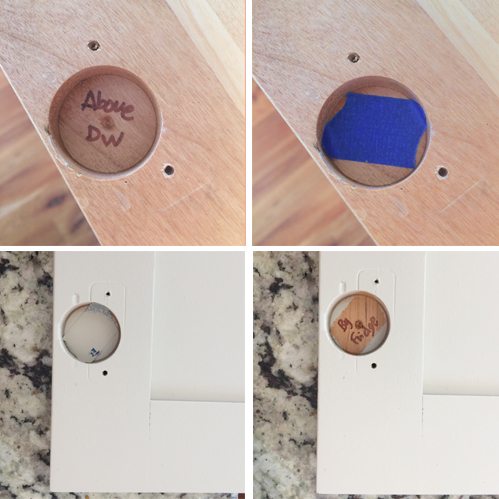
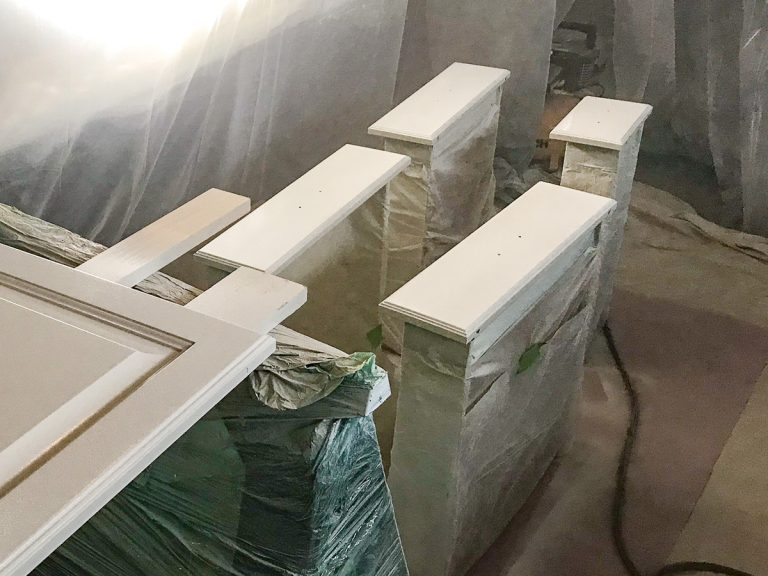
Step 6: Remove Pulls and Hinges And Label
Years ago I had replaced the pulls and knobs and knew I would like them with the new paint. But if your cabinet hardware is outdated this is the perfect time to change them. I used a marker and numbered the doors in the hole vacated by the hinge and covered the number with painters tape. After spray painting I removed the tape and matched each cabinet door to the correct spot. I got this idea from DIY’er, Stacy Risenmay. The drawer faces could not be detached, thus I had to wrap the drawer in plastic before painting. The cabinet number was written on painters tape beneath the plastic.
Example of Labeling Doors
Drawers Wrapped in Plastic
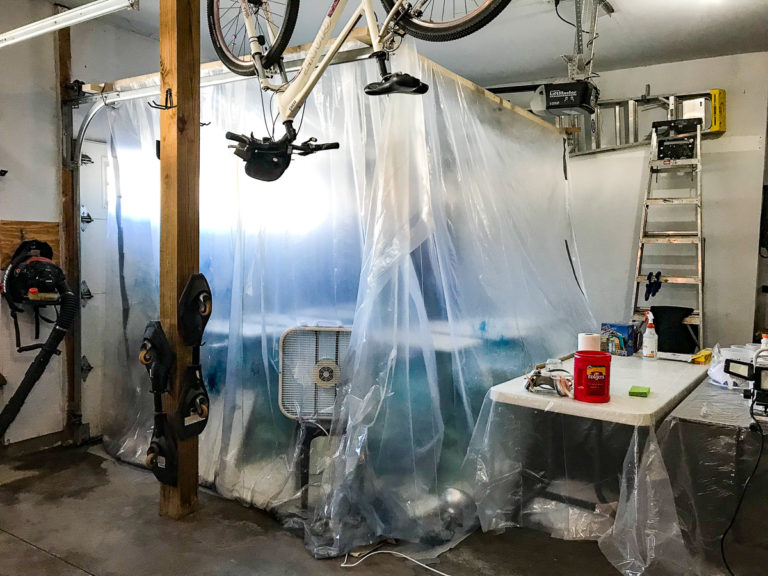
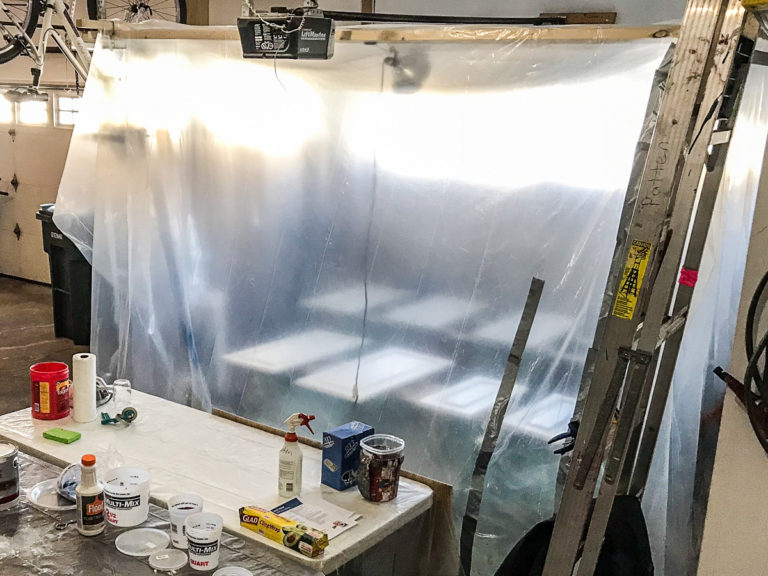
Step 7: Build a Paint Booth
Ok, now you think it must be paint time, but alas, not yet. I had to build a paint booth in my garage. Roles of plastic purchased from Home Depot were draped over the garage door rails creating walls and a ceiling. The same plastic was used to cover the floor and surround the sawhorses.

What an undertaking! So painstaking! Finished result was AMAZING!!!
Thank you Barb!
Really beautiful! Can’t wait for part 2!
Makes me wonder if you were not more meticulous than the ” professionals”. I admire your dedication to the details.