How to Paint Kitchen Cabinets for a Whole New Look!
In a previous post, Prep Your Kitchen Cabinets Before You Paint!, I wrote about the steps I took before painting kitchen cabinets in our Highover home. Now I will describe the painting process and show you the beautiful transformation.
A paint sprayer was used for my cabinetry fronts and pantry doors. A foam roller was used on the cabinet boxes, windows, trim, and baseboards.
The first coat applied was a white primer. I foam rolled everything, but in hindsight, could have sprayed the primer, just as I did the paint. I then applied 3 coats of paint. Perhaps I could have done one less coat, but I was painting white over dark and wanted good coverage.
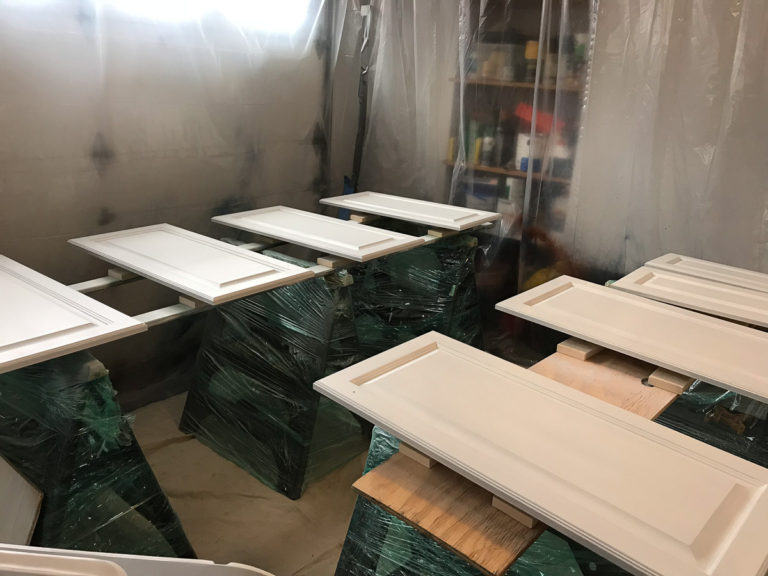
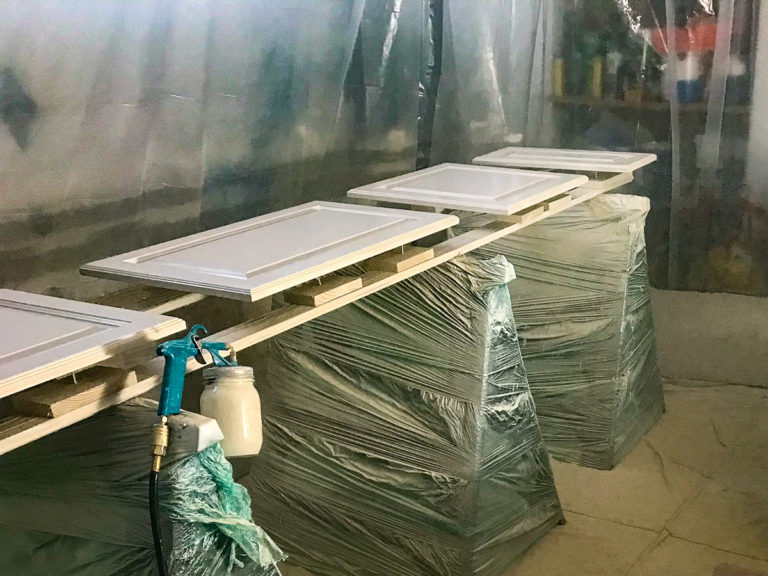
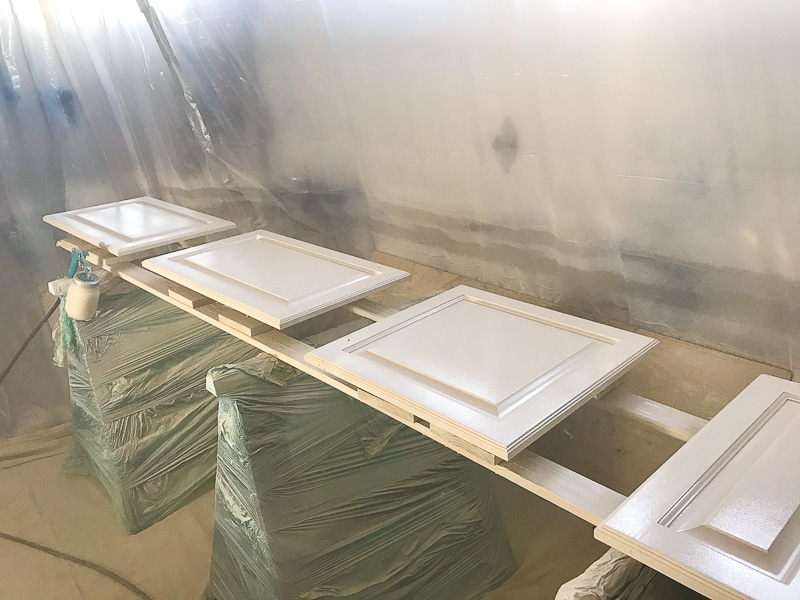
In my paint booth, I set up six sawhorses and placed long in-expensive 1×3 boards across the top.
Floating the doors over the sawhorses allowed me to apply paint on the top and side. To do this I drilled screws into blocks of wood and set them on the 1×3 boards. I had LOTS of blocks. Then I gently laid the doors on the screw tips. I could then turn the doors and spray the reverse side in a few hours versus the typical 24 hour drying time. The small holes created by the screws were undetectable. However, this was not the case with my pantry and interior doors as they were too heavy and the screws left an obvious mark. Thus, I had to wait a full day between front and back. With 50+ doors and drawers it took quite a while to do four coats.
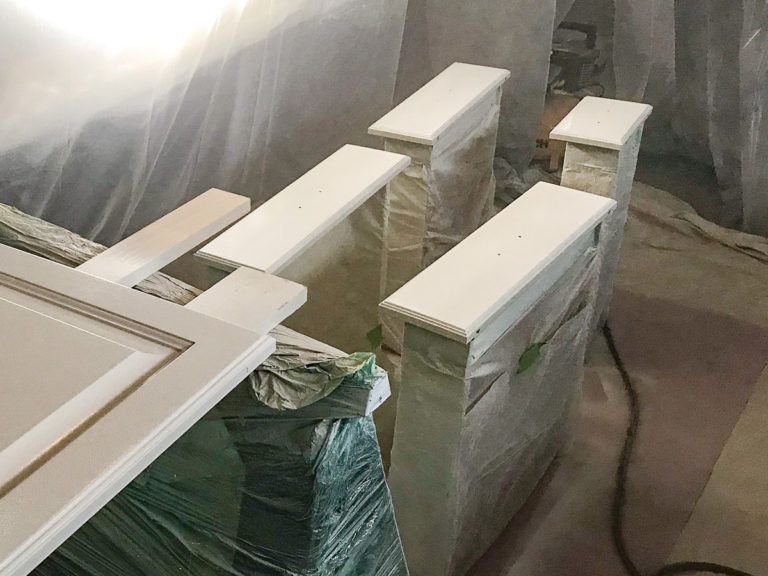
The drawer fronts could not be removed so I taped plastic around the entire drawer except the part that was to be painted. I then set the drawers on end on the plastic-covered floor.
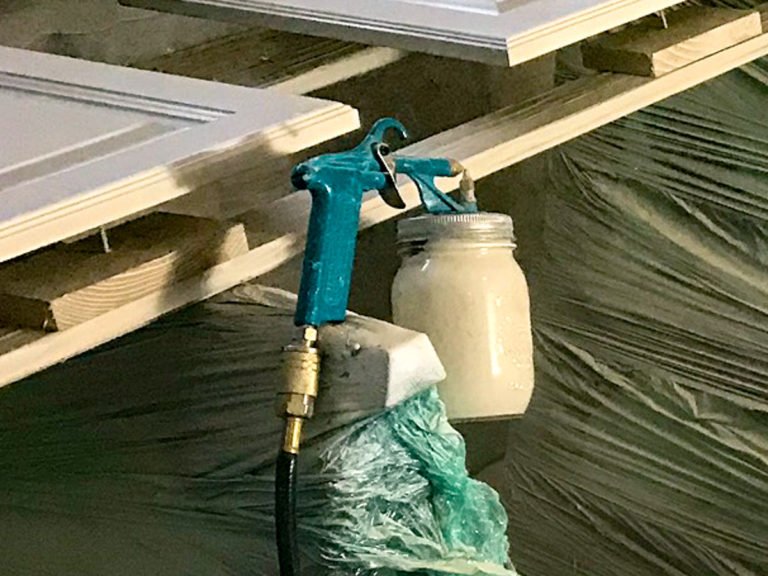
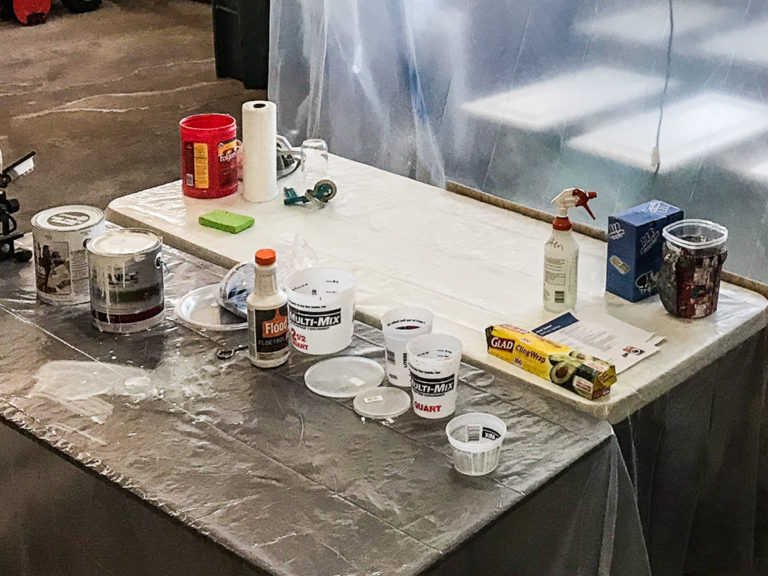
After watching many YouTube videos I landed on a simple paint sprayer called the Critter Spray Gun (I just love the name). It pulls paint from a mason jar and uses an air compressor (mine is a Bostich pancake model purchased at Menards). Between coats, I stored the excess paint in the same mason jar with a screw-on lid. A more detailed description of how to use the gun can be found on a fun website called Addicted to Decorating.
I set up a table where I mixed latex paint thinned with a product called Floetrol which moves the paint through the gun more easily and slows the drying time.
Before each new coat, I lightly sanded so the next application would adhere better. It is important to either spray air or wipe away any dust left from the sanding with a tack cloth. Otherwise, your paint job will not be smooth. Sanding was rather tedious, but a necessary evil. I could usually do one coat, front and back, in one day. But, with 50+ doors and drawers and four coats it still took quite a few weeks. Fortunately, my garage was heated (in Minnesota) and my husband graciously parked outside in the dead of winter.
Paint and Floetrol Mixing Table
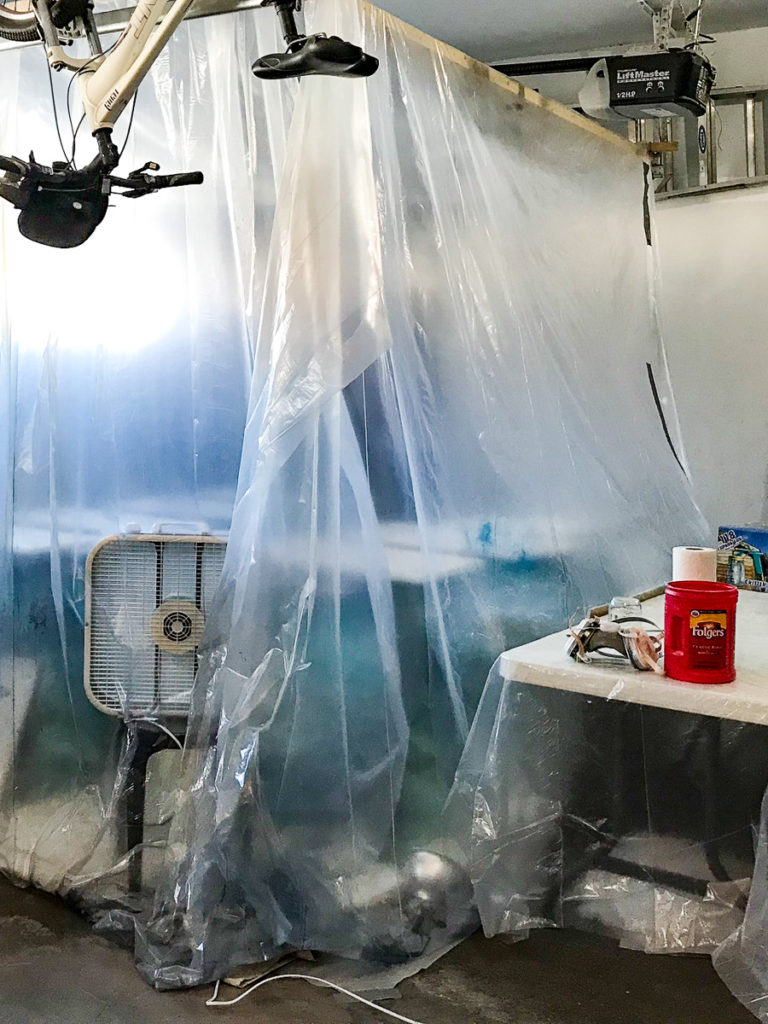
A filtered mask in the paint booth kept my lungs safe. And, since the light was limited in my garage I attached my son’s Boy Scout headlamp to my forehead. Quite the look!
To help the drying time I used a box fan inside my booth.
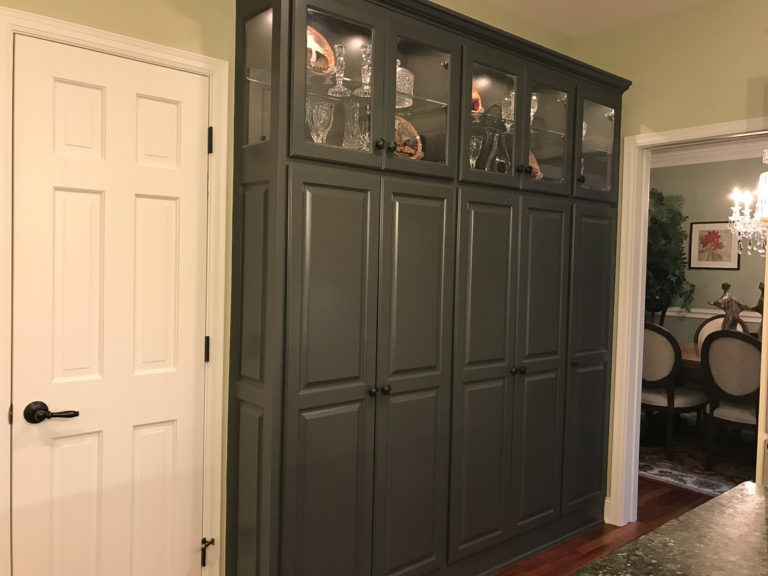
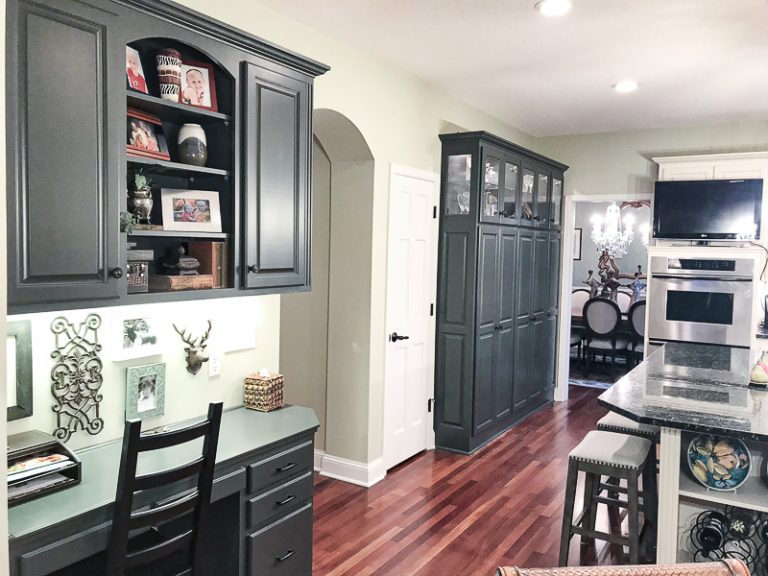
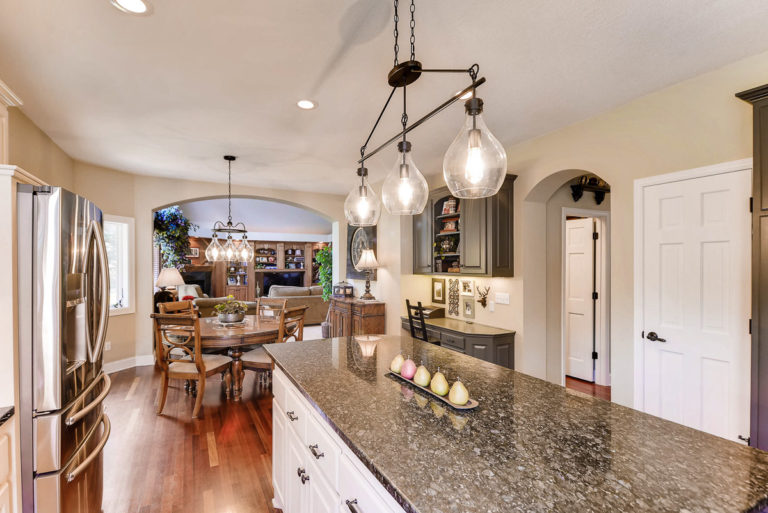
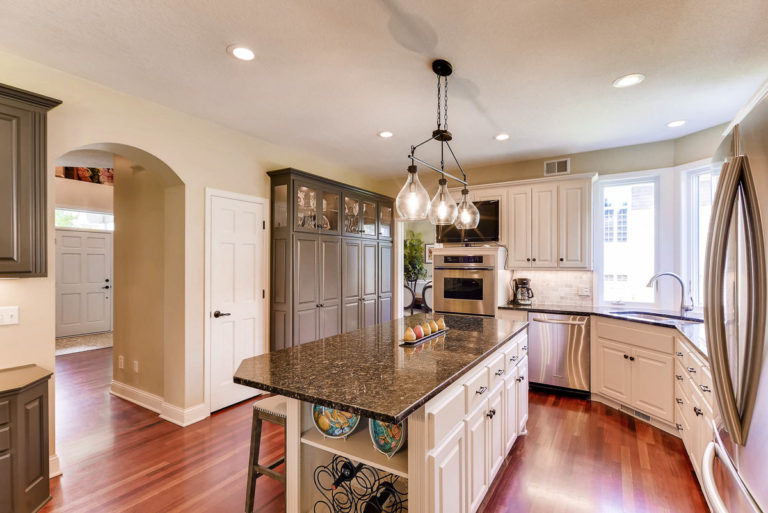
Originally, I planned to paint the island a darker color but decided I liked the contrast of the dark Verde green granite counter on top of the creamy white. Instead, I painted the pantry and desk a green that matched the granite. I would like to say I achieved the perfect green with my first sample, but I cannot lie. It actually took several samples, but in the end, it was a perfect match.
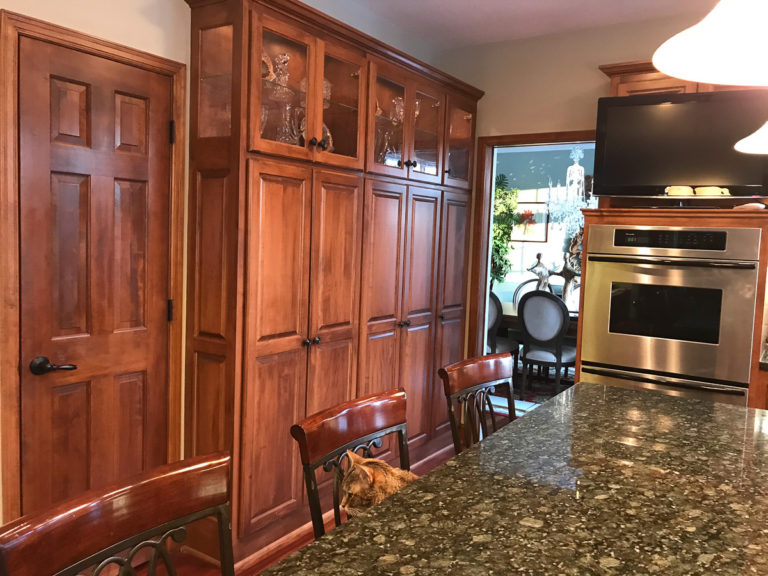
Before Pantry
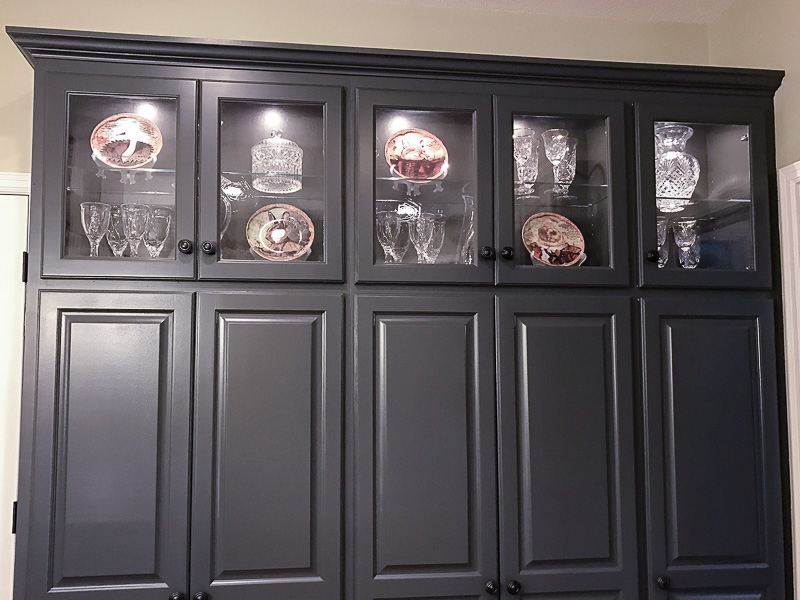
After Pantry
Desk and Pantry Green Color
There was no need to paint the interior except the upper pantry cabinets which had glass fronts.
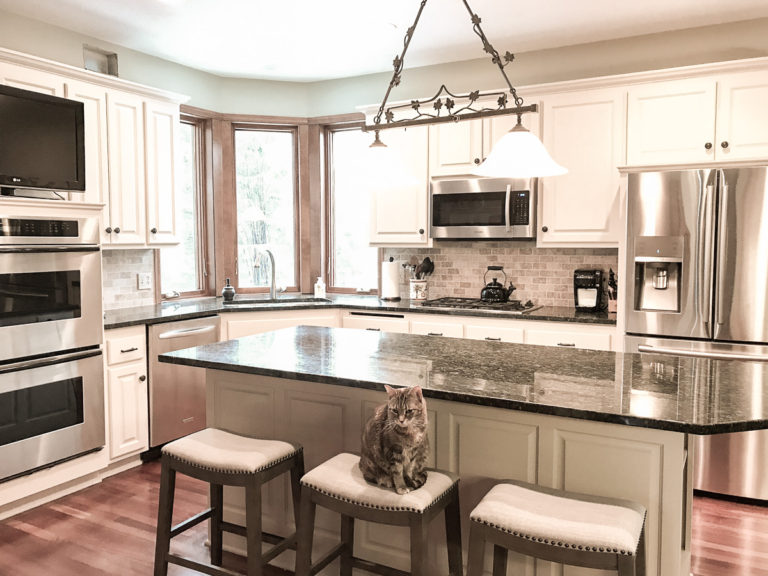
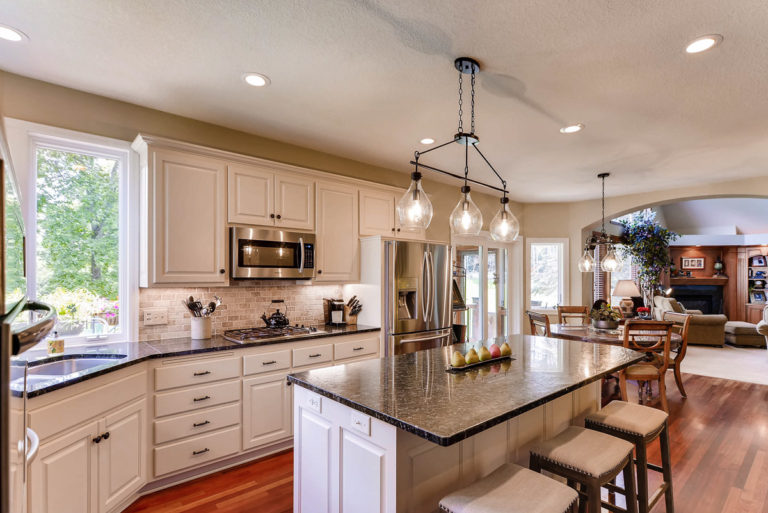
To complete the kitchen project I replaced the light fixtures above the island and table, and changed the bar stools to a simple backless style.
Before - Old Light and Window Not Yet Painted
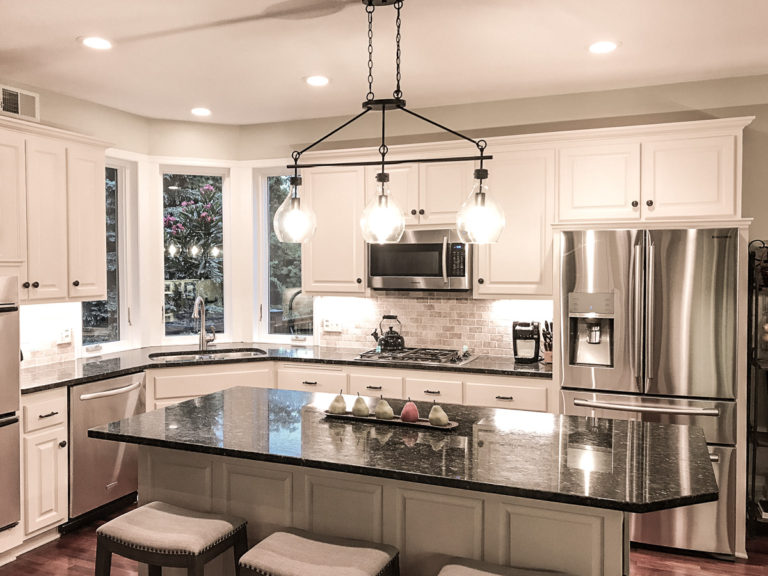
After - New Light and Window Painted
New Light Fixtures and Bar Stools
Once I painted the cabinets it was obvious I needed to paint other parts of the home, so I moved out from the kitchen and spray painted five interior doors, and two bi-fold closet doors. Each taking two days front and back for every coat. A small foam roller was used on the sliding patio door, pocket door (that was hard), door trim, baseboards, and 4 windows (another hard one).
Second Door From Right is Newly Painted Powder Bath Entry
Far Left is View of Newly Painted Front Door
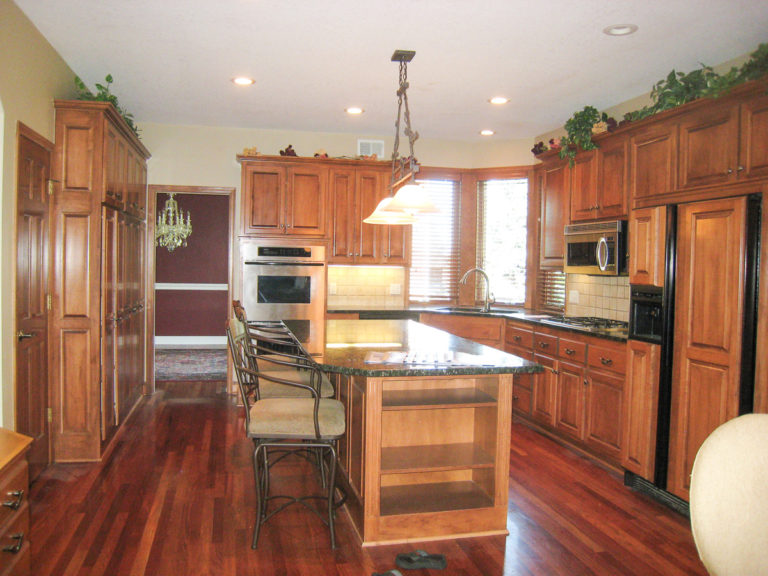
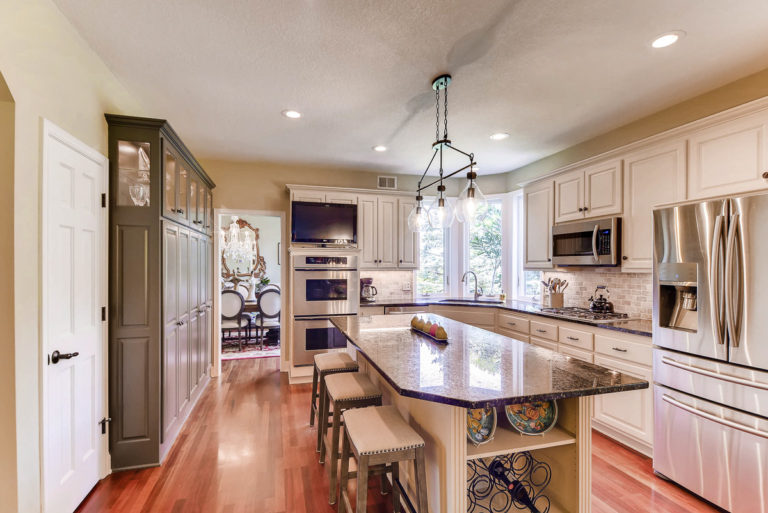
Below is a reminder of the original kitchen and the transformation after painting the kitchen cabinets. The space was much more light and bright, yet still grounded with the dark green cabinets, glossy green granite counter tops, and the rich Brazillian cherry wood floors.
Before
After
Painting kitchen cabinets, baseboards, windows, and doors took countless hours and an incredible amount of patience, both mine and my family’s. However, when it was all said and done I absolutely loved my new kitchen.
If you have dated cabinets you want to change, I hope this post has given you inspiration. And, if you have taken the plunge I would love to hear your success story in the comments below.
You are definitely one of the most tenacious and talented people I know! What a massive undertaking, most would crumble at the suggestion of a project like this, but not Cheryl! That’s why I love you: never say never!

Nicely done!
Thank you!
Amazing! How long did this take? Molly helped? I see her in one of the pictures .
Molly supervised. She wanted to paint, but her kitty paws kept dropping the paintbrush.
Several weeks. Molly was my quality control supervisor.
Beautifully done! Huge undertaking!😀
Thank you!
Cheryl, I have to have this picture of you. You know which one. Sis
Yep! 🙂
You are definitely one of the most tenacious and talented people I know! What a massive undertaking, most would crumble at the suggestion of a project like this, but not Cheryl! That’s why I love you: never say never!
❤️❤️❤️