4 Before and After Amazing Transformations, Anyone Can Do!
What is more enticing than viewing Before and After photos? In this post, I will show you 4 inexpensive projects that transformed two sets of chairs and two sets of framed pictures that would look great in any current home.
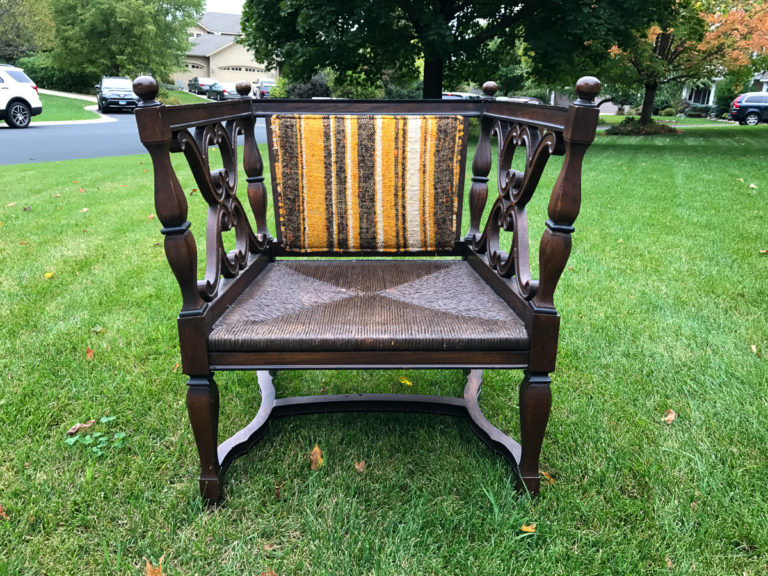
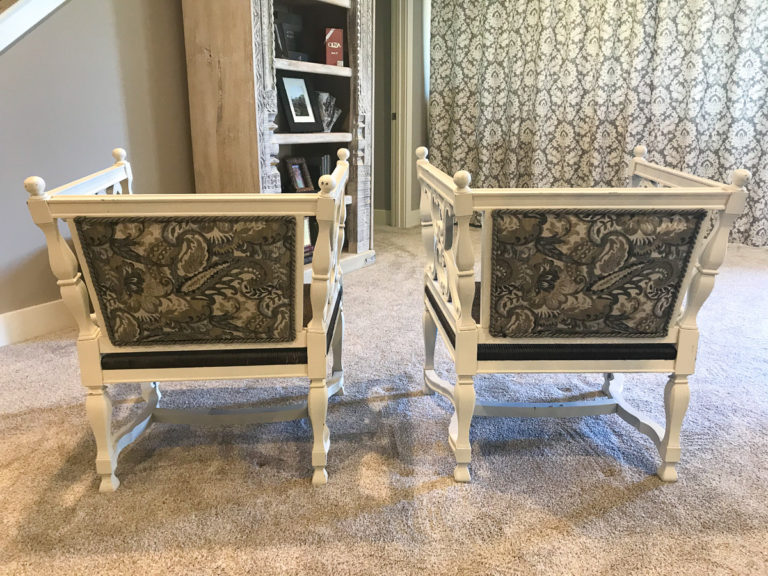
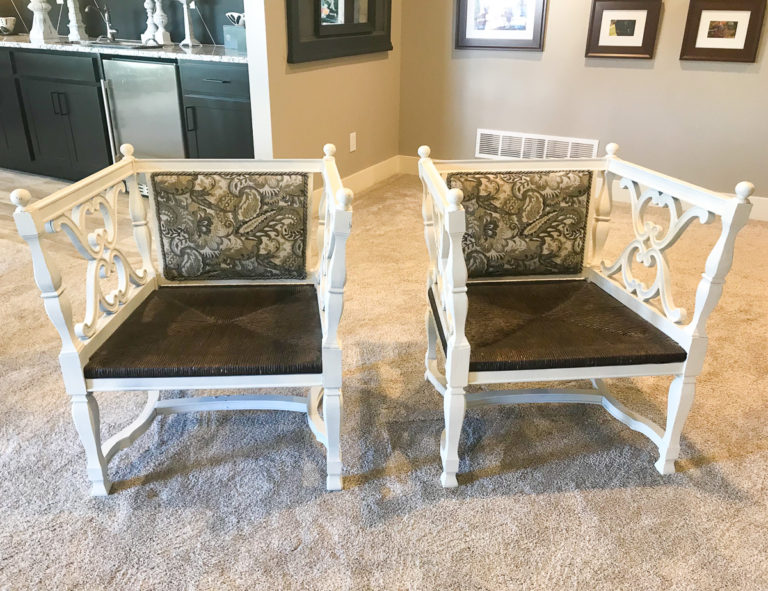
1. Unique Scroll Chairs from Dark and Dingy to Light and Beautiful
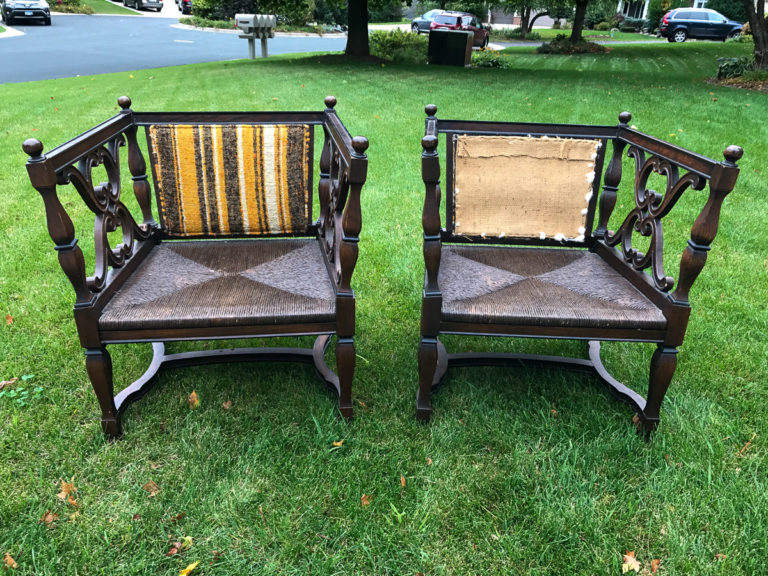
I fell in love with these scroll chairs when I first saw them in a thrift store for only $5 each. The rattan seats were in excellent condition, however, the rest of the chair was straight out of the ’70s.
The first thing that had to go was the ugly fabric.
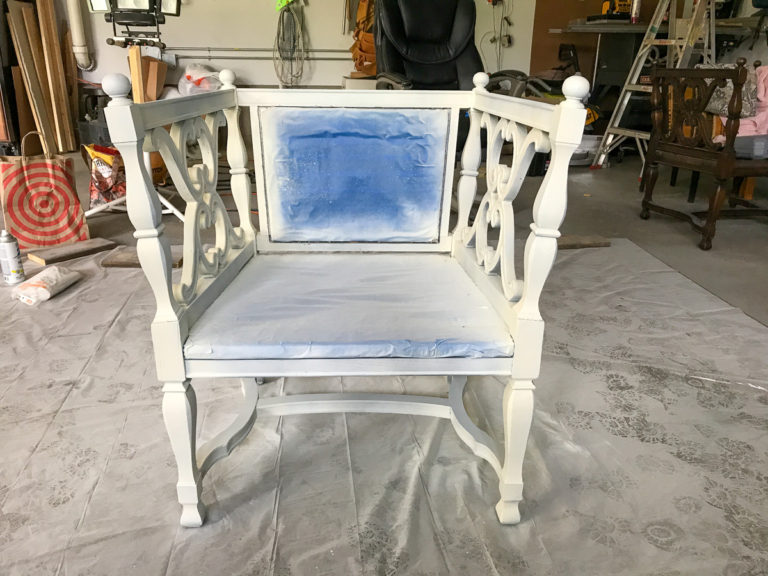
Next, the back and rattan seats were covered with blue painter’s tape. After that, I spray-painted the frames in several coats of off-white.
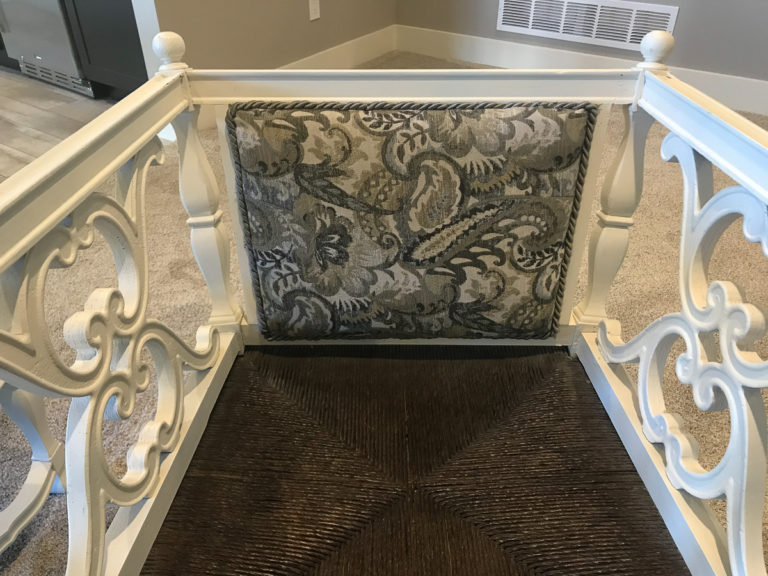
Lastly, I stapled the new fabric, which was a lovely green and ivory paisley design, to the front and back. I covered the raw edges with twisted cord trim stapled into place.
For symmetry, I was careful to match the paisley design between the two chairs.
Even though I loved them, the chairs did not fit in our Iowa home. Plus, my family said they were not comfortable. 😉 Thus, I sold them on Facebook Marketplace.
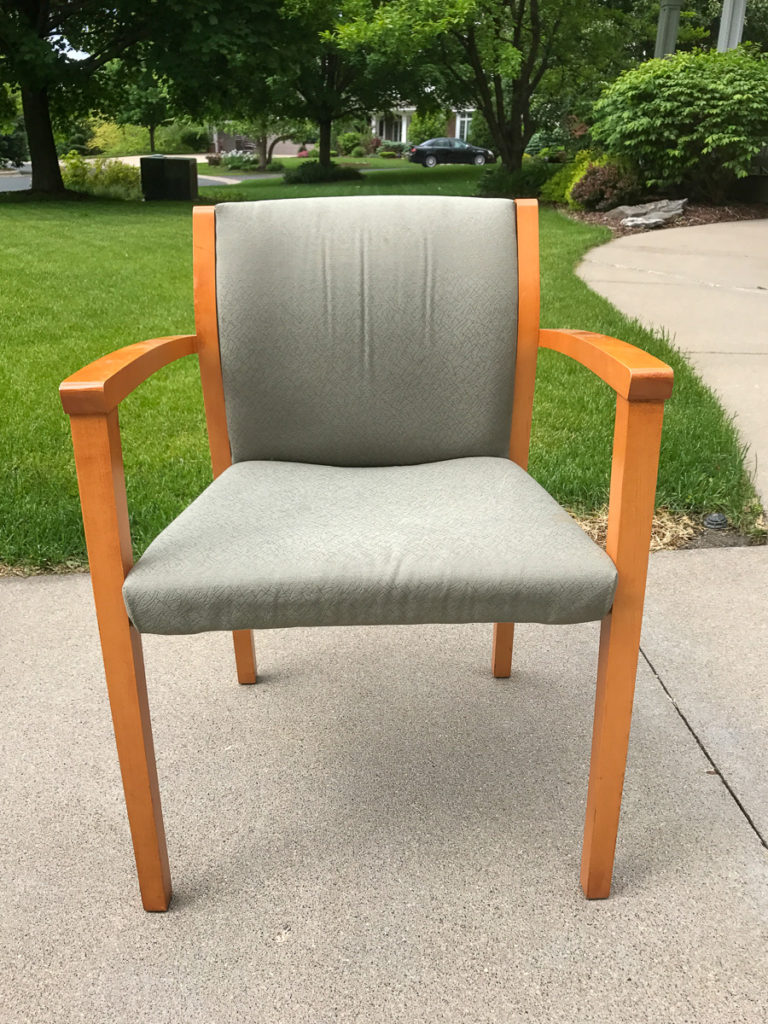
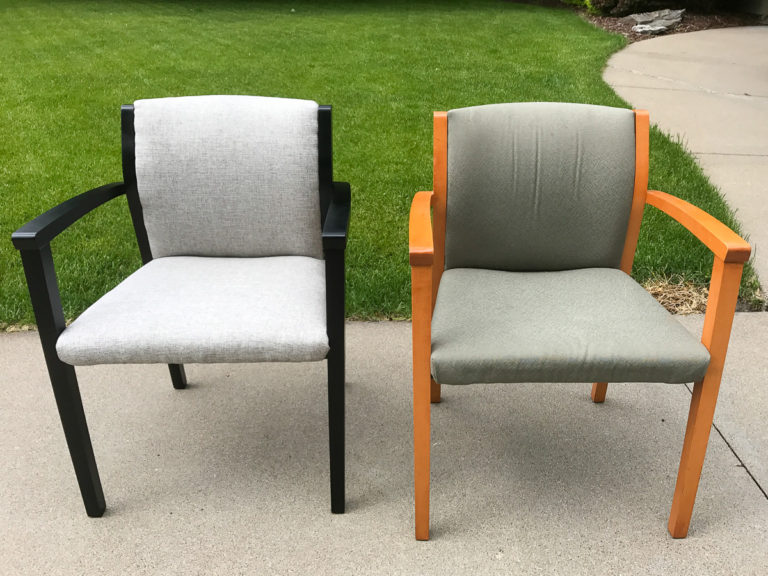
2. Simple Arm Chair Transformed into the 21st Century
Another chair project was this simple armchair I purchased at a garage sale. I think I paid $50 for four chairs.
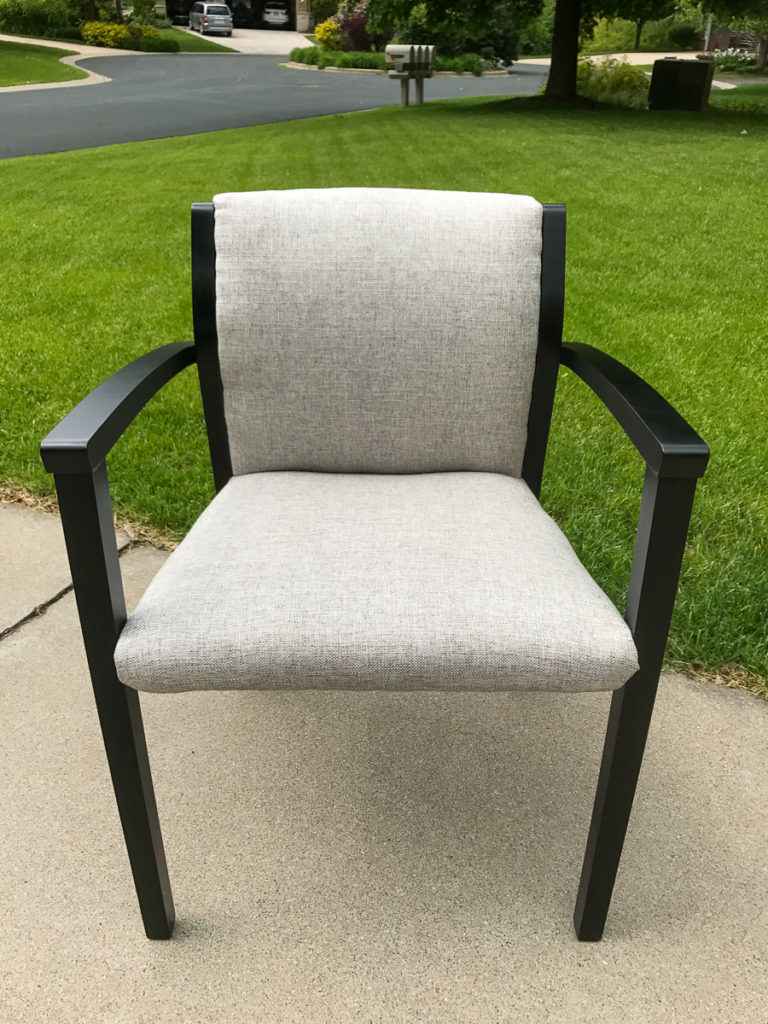
I first removed the front and back from the frame. After tearing off the old fabric, additional padding was added to the seat. I then covered the seat and back with an understated fabric in a linen style.
Once the frame was spray-painted black the newly covered back and the seat was reattached and Voila! Drab and boring to sleek and beautiful.
Since I was in the process of moving to a smaller home I only did two chairs and gave the other two away.
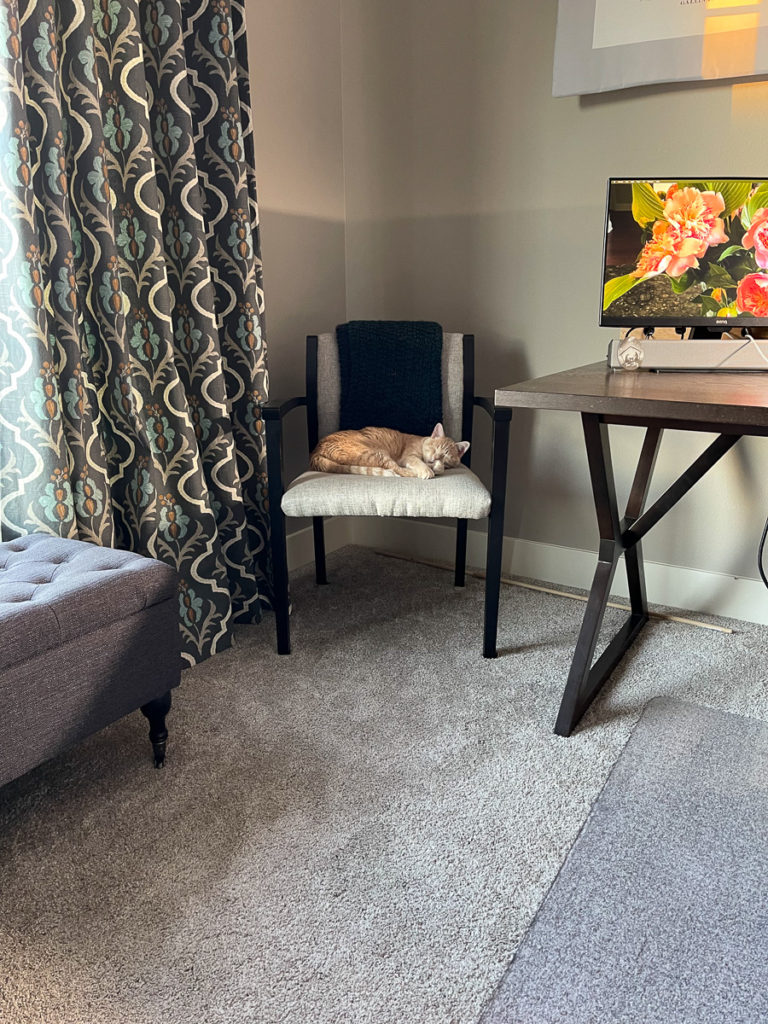
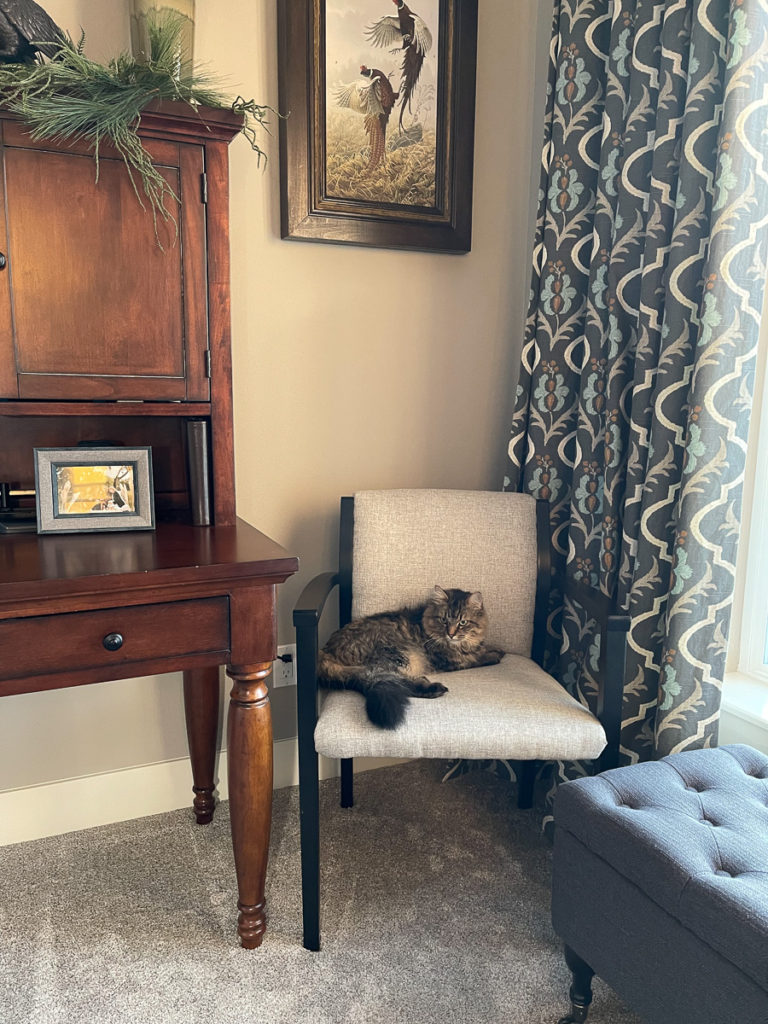
The refurbished chairs fit nicely in the corners of my office in our Elshire home. Fuzzy and Maggie like them too.
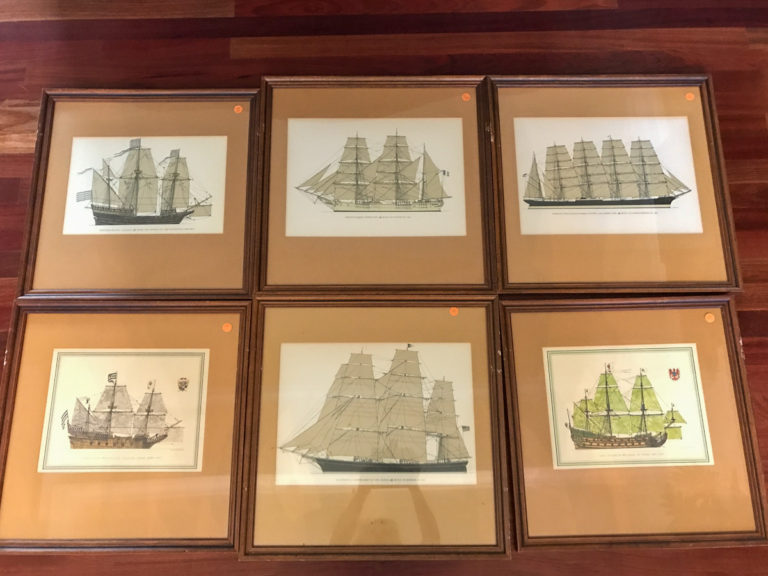
3. Unique Clipper Ships Find a New Purpose
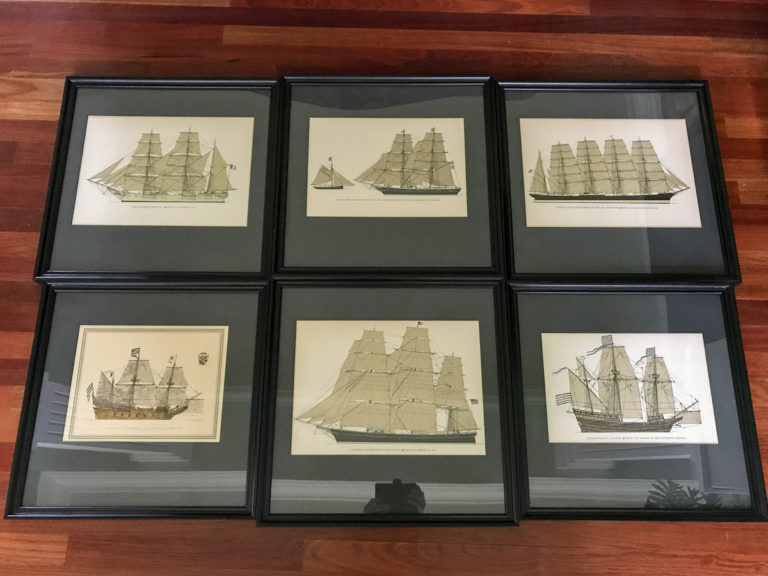
When shopping at an estate sale held in a large warehouse, my eye was immediately drawn to a picture grouping of seven clipper ships from the 19th century. I liked the artwork, but not the tan mats and brown frames.
I knew I could paint the frames, but I wasn’t sure I could re-mat the pictures as I had never cut mats. They would lose their value to me if I had to take them to a frame shop. Plus, I wasn’t sure where I would hang them.
All these thoughts were in my head when I stepped outside my comfort zone and negotiated the price from $85 to $50 for all seven. It is easier to negotiate when you are willing to walk away.
7th Picture Not Shown
Before re-matting I thought I would try spray painting the original mats which were interesting as they were wider at the bottom than the top. I had nothing to lose. If it did not work I planned to replace the mats anyway.
I was amazed at how well they took the paint. No streaking or splotches. I then spray-painted the frames in black. The end result was great-looking pictures for very little money.
7th Picture Not Shown
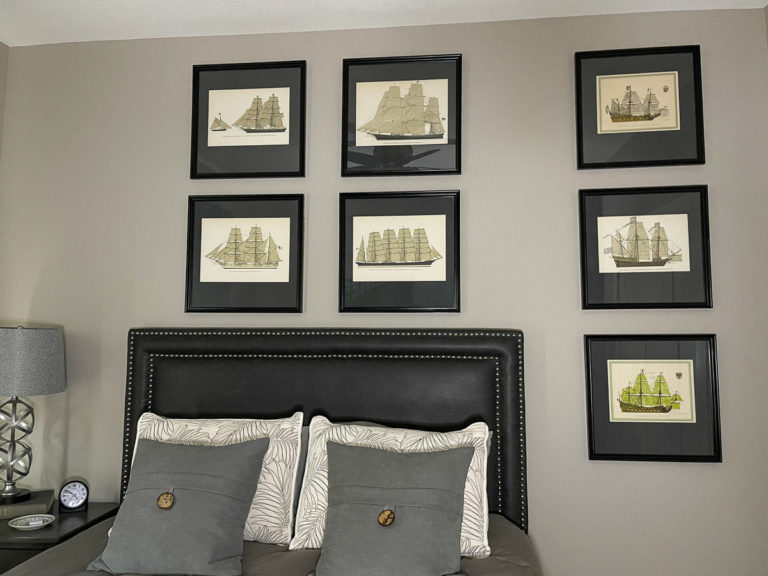
I have them hung in our Iowa Guest Bedroom. I particularly like that one of the ships is green while all the others are brown, taupe, and black. It makes the whole arrangement that much more interesting.
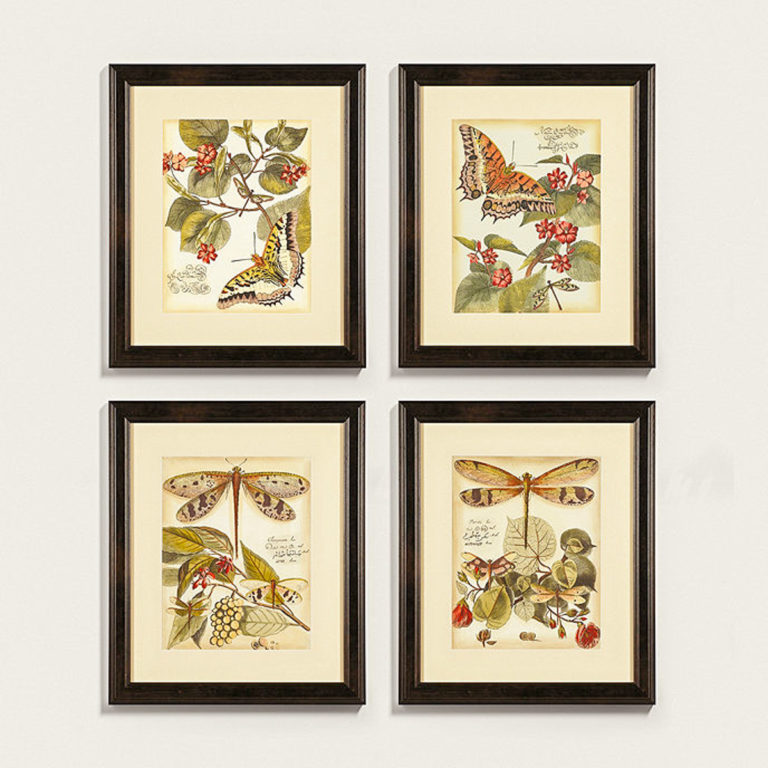
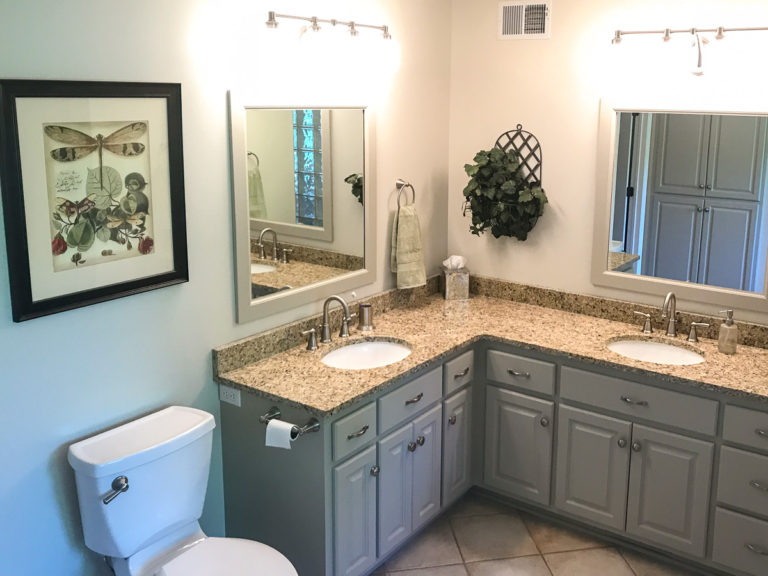
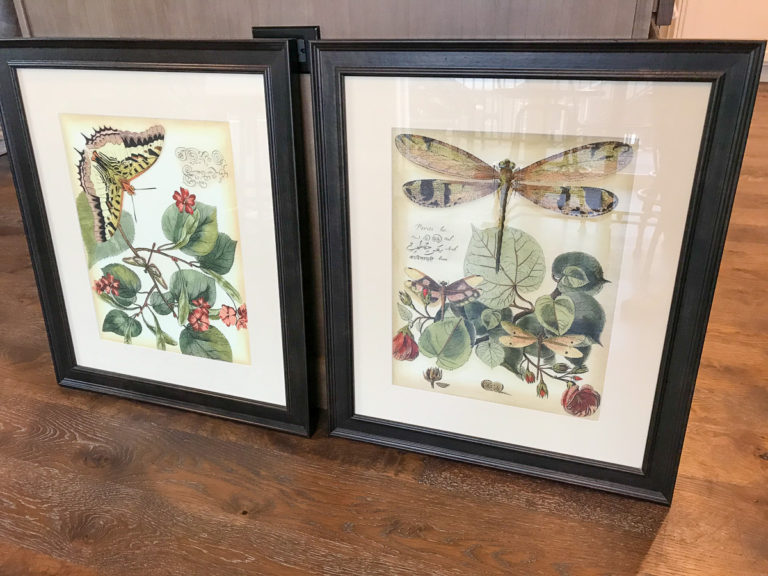
4. Camouflage Spray Paint Makes These Insects Come to Life
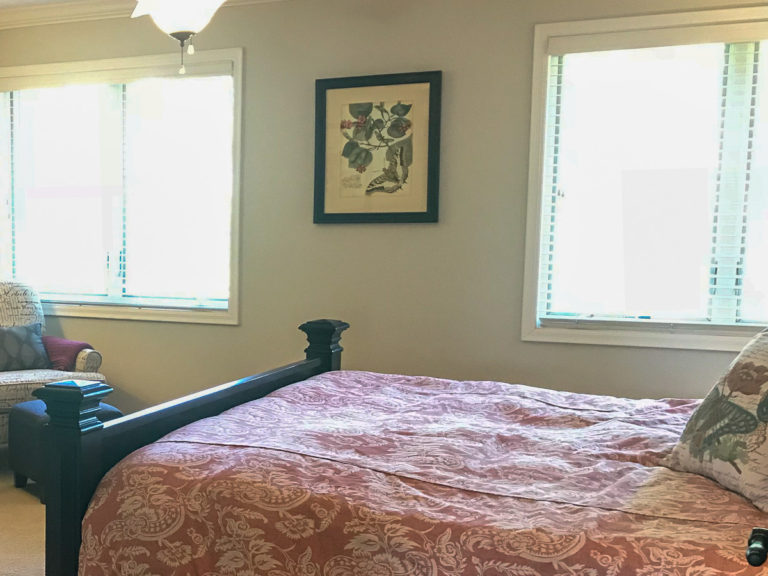
I originally bought these entomology pictures, inspired by a 19th-century bookplate, from a Ballard Design catalog. I never liked the peach-colored matting, but in my Minnesota Master Bed and Bath, it worked with the wall color. However, in my Iowa home with the putty-colored walls, peach did not work at all.
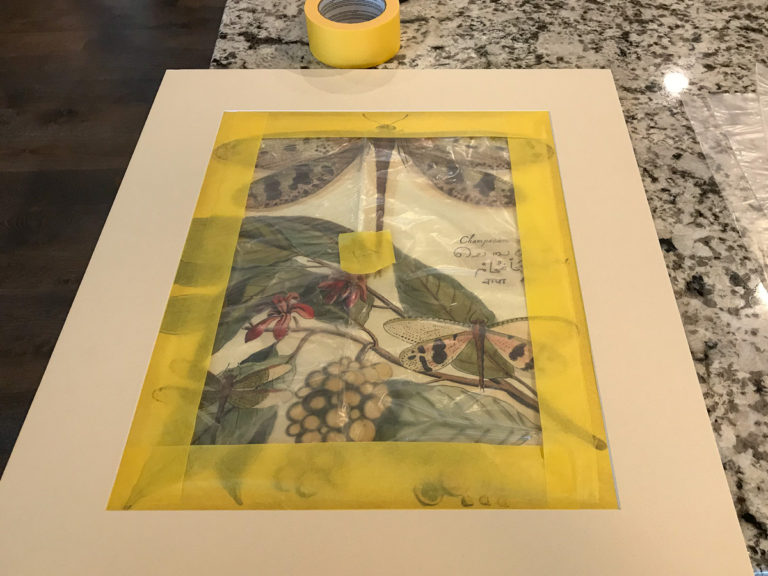
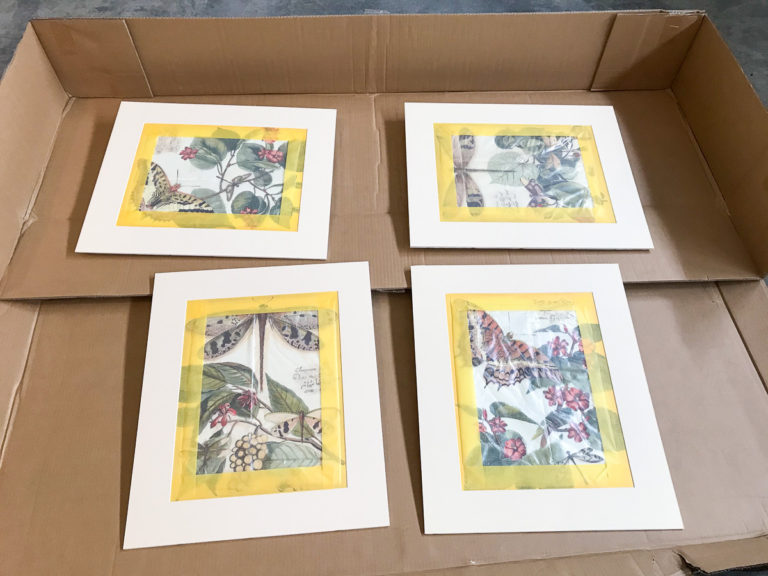
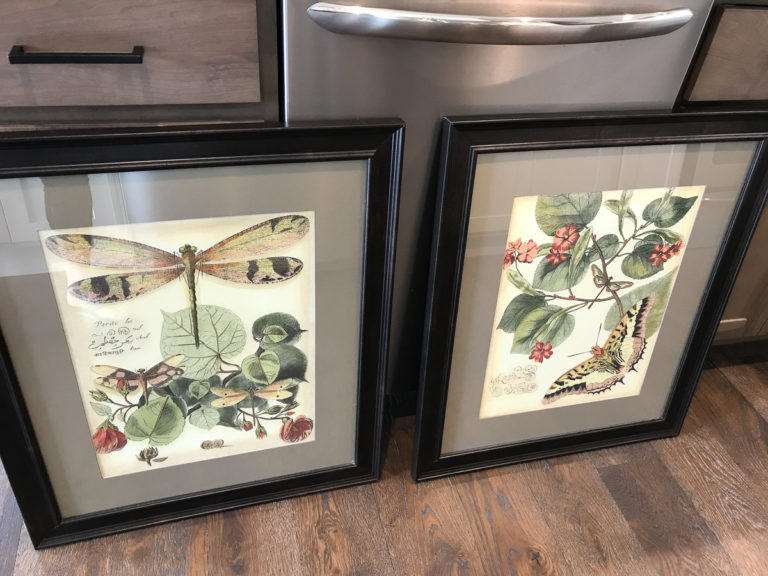
I had such good results with my ship pictures I decided to paint the mats. The only problem was, I could not separate the mat from the picture without causing damage. Thus, I had to tape plastic to the picture before spray painting. I used the yellow frog tape as I thought it would be more gentle.
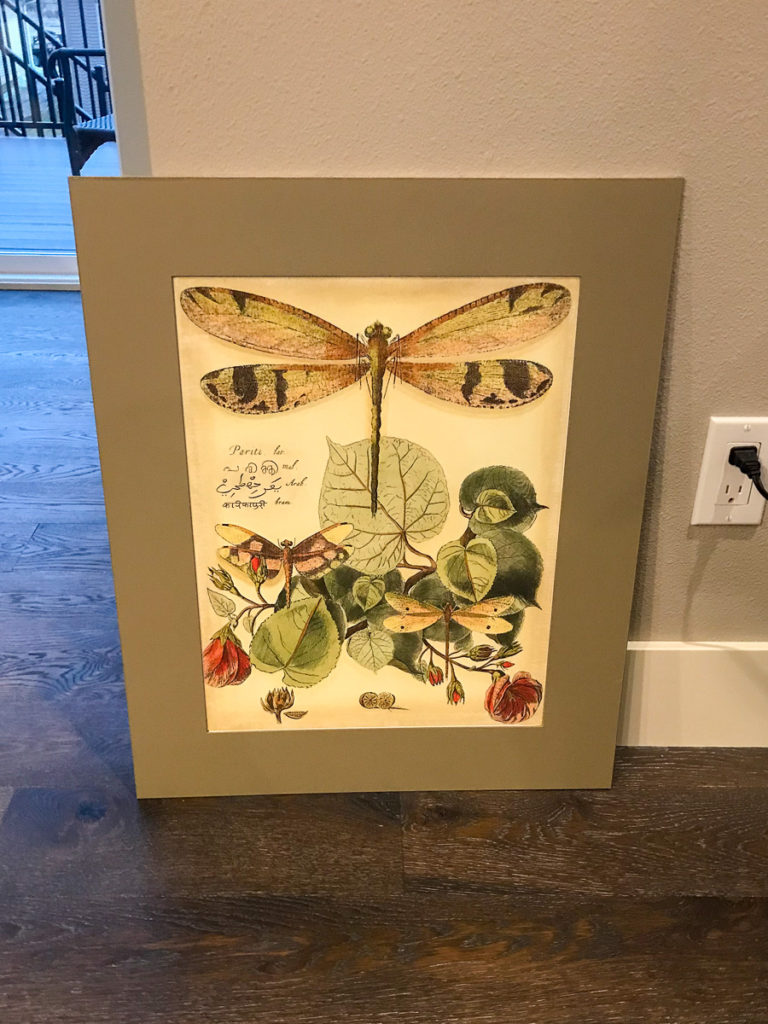
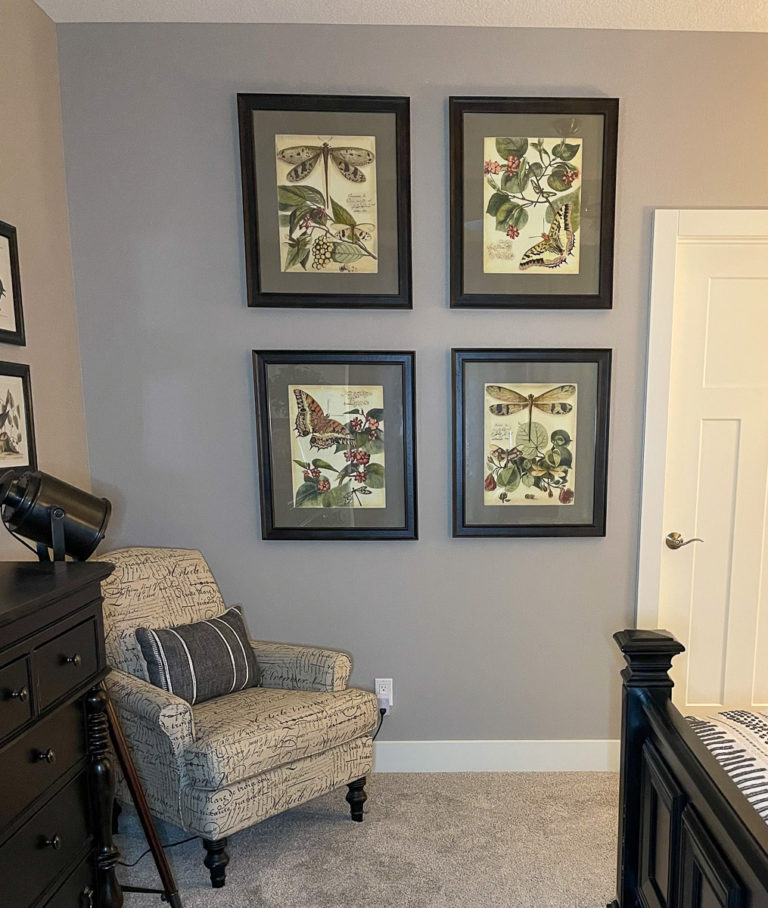
Voila! I think the new mat color made the pictures pop. Believe it or not, the spray paint purchased at Menards was labeled camouflage. Strange name, but perfect color.
Before
After
They look great grouped together in our Iowa Master Bedroom.
Before & After projects are a great way to re-purpose outdated treasures.
I hope this post has inspired you to rummage through your attic or visit your local thrift store for an interesting object to bring back to life for your home.
Or, if you have already done a project, tell me your story in the comment section below.
Meanwhile, subscribe at the bottom and you will be the first to know when I post a new article on Home Designs I Love.
And, remember, good home design is always worth copying, so copy away!
Hi Cheryl!! These look great and have given me a couple ideas for here around the house with our own new remodel. You have to come see it when you’re in town!
Enjoy seeing your projects, Cheryl. These all look great! The “hunt” is part of the fun!
For sure! I love hunting!
I love how adventurous you are!
Thank you, Julie.
Wonderful post Cheryl! Amazed at how creative you are. The photogenic cats really show the chairs off nicely 🙂
Yes! Maggie and Fuzzy are wonderful models.
Everything looks wonderful. What talent you have.
You’re sweet. Thank you Karen!
Hi Cheryl!! These look great and have given me a couple ideas for here around the house with our own new remodel. You have to come see it when you’re in town!
Yes, I would love to see your remodel!
Cheryl, I do not have any projects for me, but I have 2 chairs I want YOU to cover. love Big Sis
I will bring my stapler!
I especially like the kitties.
Me too!
Cheryl, just loved seeing your fabulous transformations. You are having so much fun and I know how much energy this takes, but you sure have it girl.
Thank you Sandy!
I do have fun with projects.